Friday, May 20, 2016

Writing About Friends

How do you get all your students to write during their free time!?!
Give them the choice to WRITE ABOUT THEIR FRIENDS!
While I sent home the parent letter pictured above, I gave my students the option to write about me!  
I am so PROUD of all their writing.  I wish I could post them all!  
Everyday my students can't wait to SHARE what FRIEND he/she wrote about. 
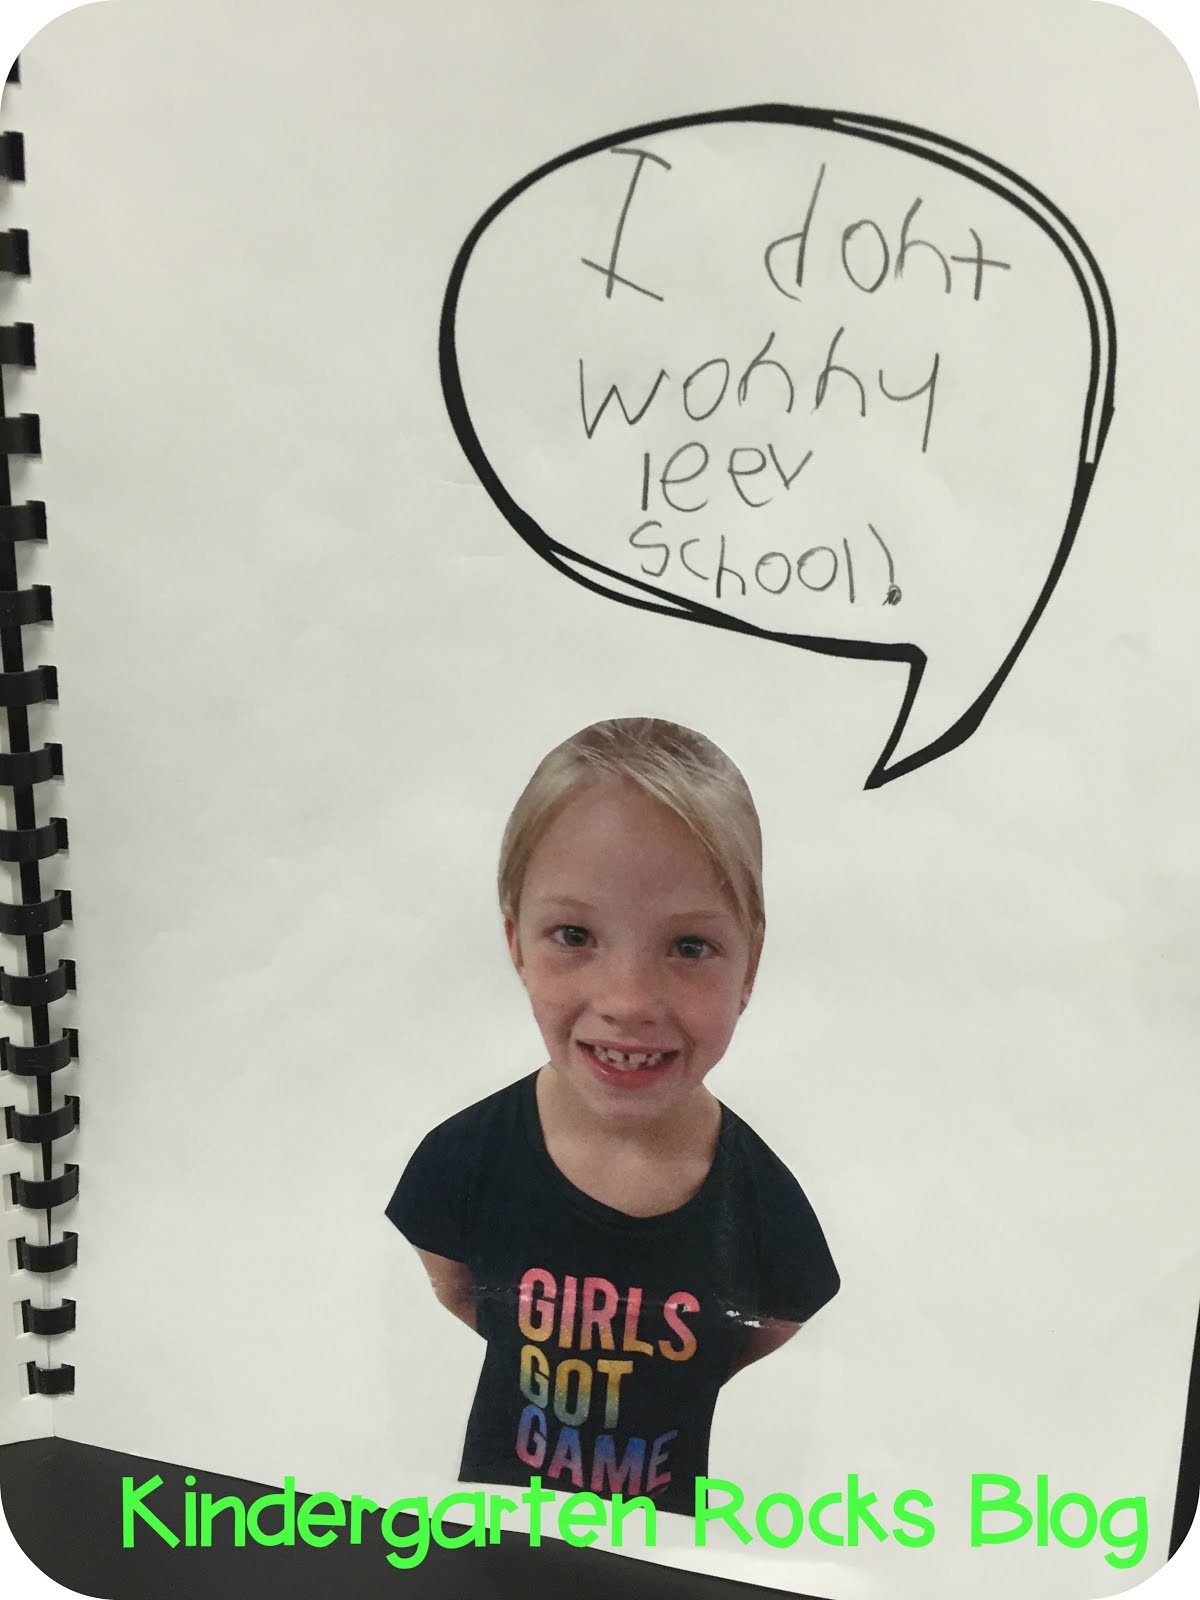
They even LOVE to write about themselves! 
"KID WRITING" just makes my heart SMILE! 
I created some booklets for my students to write about their friends.  It is AMAZING how much more they learned about FRIENDS in the classroom! 
This unit works very well at the end-of-the-school year in kindergarten, but can also be used at any time your students need another ENGAGING writing activity. 
If you are interested in adding some FUN into your writing day, you can check out this resource by
CLICKING RIGHT HERE! 


Thursday, May 12, 2016

"When We Learn, We Grow!"


This art project is an oldie, but goodie.  AND...it involves labeling.  The kids loved it, especially when they were given a brand new unsharpened pencil to use as a "tool" to make the inside of our flower look 3-D.  
Here's a look at what I gathered together to make this adorable flower project.
First, the kids placed the stem in the middle of the paper.  I reminded them that the stem should not touch the bottom of the blue paper.  Next they cut out the flower and glued it on top of the stem.  The flower was just a generic flower clip art found online.  Then we cut out two leaves (again just a generic pattern on the Internet).  I showed them how to put the veins on the leaves.  They glued those on the stem.  I showed them the bag of brown decorative shred that I bought at the Dollar Tree.  I demonstrated how to gently pull them out to make them a bit longer and less crinkled.  We put a spot of glue at the bottom of the stem and began sticking one end of the shreds on the glue.  We left the other end just hang freely.  Then we took a break. That was a lot of work and concentration!
Later, I stapled the dirt on the bottom to make a "flap" to cover the bottom of the stem and roots.
The next day, we cut out the labels and glued them on.  Then we started the fun part!  Everyone received a brand new pencil.  I took quite a long time explaining and modeling how to place a square piece of tissue paper on the eraser end of the pencil, dip it in a little bit of glue, and put it on the paper.  (This brought back memories of school projects I did as a kid.)  We counted to 5 after we put it on the center of the flower, just to make sure it stuck!  They thought I was a magician when the first piece of tissue paper stuck to my sample!  Too funny!  Of course, I might have played it up a little bit, too.  That's our job, right? 


Anyhow, the kids LOVED doing this project.  Give it a try!
Here is the slogan I chose for my sign to post with these cuties.  Again, many others have used this slogan before, but I liked it, too!
Enjoying the spring weather in Wisconsin.... 

Monday, May 9, 2016

ZOO-riffic Centers!

The Zoo-licious Faces are from
Julie Lee & Jamie Mayas.
CLICK HERE to check it out!  
The students learned many zoo animal facts
AND practiced using the correct ending marks.
Hip Hopping Addition Center 
The students flipped over a card and rolled the dice.  
Then added the two numbers together.    
Go Wild About Digraphs
The students practiced using sh, ch, wh, & ph sounds. 
A Trunk Full of 2's
The students put the numbers in order from 2 - 20.  
Then recorded it on their sheet. 
Welcome To The Shape Zoo
After the students listened to the story,
"Animal Strike at the Zoo",
they practiced their 2D & 3D shapes. 
Sight Words Are "Giraffing" Me Crazy
The students read the sight word phrase on the card
and then wrote it in their best handwriting. 
A "Zoo"per Sentence
The students build a zoo themed sentence 
and then wrote it in their best handwriting.
 
NO LION...THIS ZOO UNIT IS GRRRREAT!
CLICK RIGHT HERE TO GET IT FROM OUR TPT SHOP!

We are going to go WILD & have a giveaway!
Please leave a comment with your e-mail address & we will pick someone on FRIDAY!

Code line 7 9 is for loading jQuery library. Remove this line if you’ve already loaded it somewhere else in your blog. Hint: If your blog has an image slider, carousel or something with fading effect running, chances are it is powered by jQuery. If this widget doesn’t work, the first thing you want to do is comment out or remove this line. To use your own button, replace the URL in line 3 with the direct link URL to the image. Make sure to keep the quotes. To reposition the button, replace